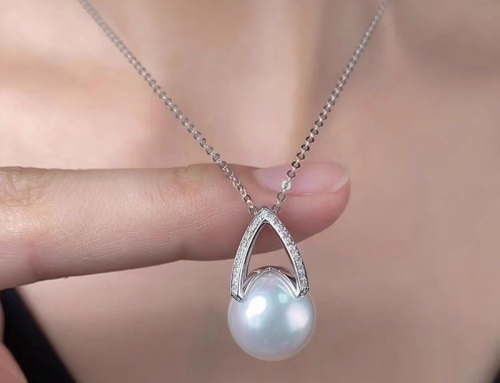
As a lover of jewelry, I have always been fascinated with the beauty of pearls. Pearls are timeless and elegant, and they add a touch of class to any outfit. Making a necklace with pearls is not only a fun and creative way to express yourself but also a great way to create a unique piece of jewelry that you can cherish forever. In this article, I will guide you through the process of making a necklace with pearls, from the tools and materials you need to choose the right pearls and stringing techniques.
Tools and Materials Needed for Making a Pearl Necklace
Before you start making your pearl necklace, you need to gather the necessary tools and materials. The tools you will need include a pair of wire cutters, flat-nose pliers, round-nose pliers, and crimping pliers. The materials you will need include pearls, beading wire, crimp beads, jump rings, and a clasp.
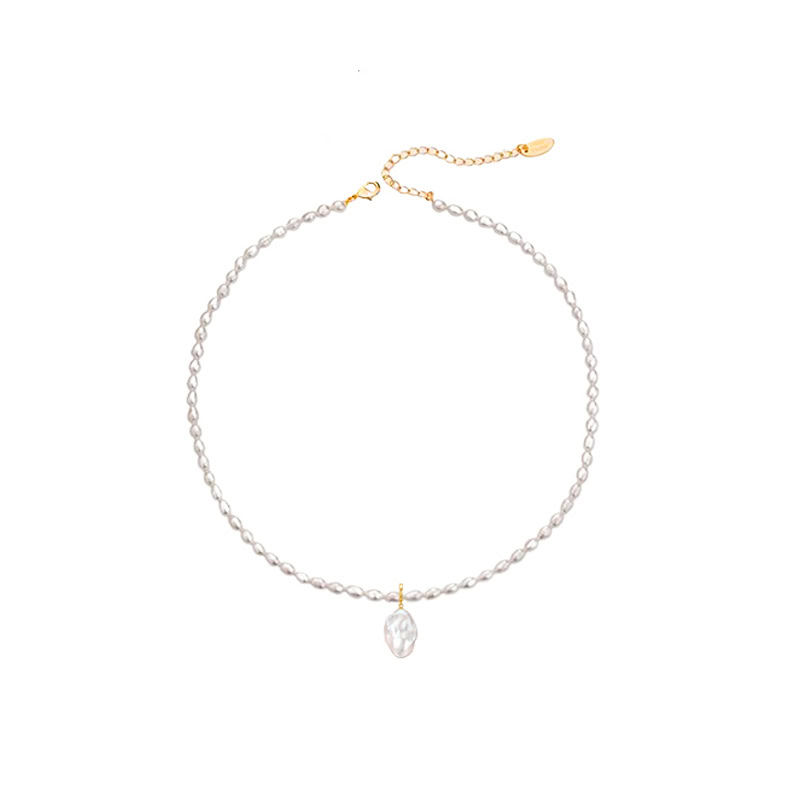
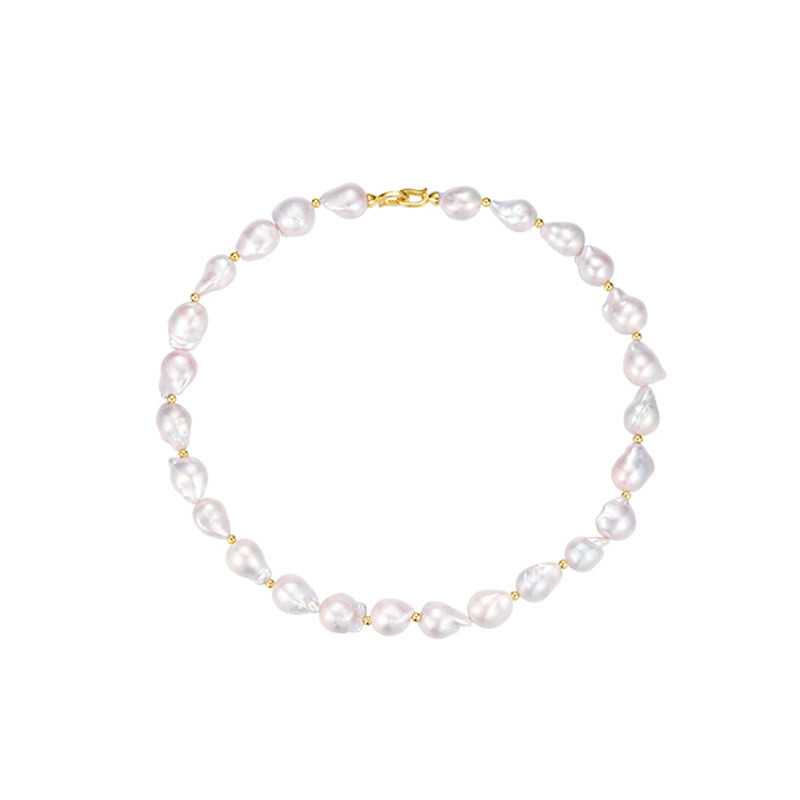
When choosing the pearls, you need to consider the size, shape, color, and quality. The size of the pearls depends on your personal preference and the style of the necklace you want to create. The shape of the pearls can be round, oval, or irregular, and the color can range from white to black and everything in between. The quality of the pearls is determined by their luster, surface texture, and overall appearance.
Choosing the Right Pearls for Your Necklace
When choosing the pearls for your necklace, you need to consider the style and occasion. If you want a classic and elegant look, you can opt for white or cream-colored pearls. If you want a more modern and trendy look, you can choose colored pearls such as pink, lavender, or black. For a special occasion such as a wedding or gala, you can go for high-quality pearls with a high luster and flawless surface.
Another factor to consider when choosing pearls is the length and style of the necklace. A choker necklace looks best with small pearls, while a longer necklace looks best with larger pearls. You can also mix and match different sizes and shapes of pearls to create a unique and stylish necklace.
Stringing Techniques for Making a Pearl Necklace
Once you have chosen the pearls and gathered the necessary tools and materials, it’s time to start stringing them together. The first step is to cut a length of beading wire that is slightly longer than the desired length of the necklace. Next, thread a crimp bead onto the wire, followed by a jump ring, and then loop the wire back through the crimp bead. Use crimping pliers to crimp the bead tightly.
Next, start threading the pearls onto the wire, making sure to space them evenly. You can use a bead board to help you determine the spacing and design of the necklace. Once you have strung all the pearls, thread another crimp bead and a jump ring onto the wire, and then loop the wire back through the crimp bead. Use crimping pliers to crimp the bead tightly.
Finally, attach the clasp to the jump rings using flat-nose pliers. Your beautiful freshwater pearl necklace is now ready to wear!
Conclusion
Making a necklace with pearls is a fun and rewarding DIY project that anyone can do. With the right tools and materials, choosing the right pearls, and using the proper stringing techniques, you can create a unique and stylish necklace that you can wear with pride. Whether you are a beginner or an experienced jewelry maker, making a pearl necklace is a great way to express your creativity and add a touch of elegance to your wardrobe.
About Natural Freshwater Baroque Pearl Necklaces Natural freshwater baroque pearl [...]
About Natural Freshwater Baroque Pearl Necklaces Natural freshwater baroque pearl [...]

About Natural Freshwater Baroque Pearl Necklaces Natural freshwater baroque pearl [...]

About Natural Freshwater Baroque Pearl Necklaces Natural freshwater baroque pearl [...]