From Clasp to Finish: A Step-by-Step Guide on Creating Your Stunning Pearl Necklace
Pearl necklaces are timeless pieces of jewelry that have been worn for centuries. They are classic, and elegant, and can be worn with any outfit, making them a must-have in any jewelry collection. If you are interested in creating your pearl necklace, this step-by-step guide will show you how to do it.
Choosing the right pearls
The first step in creating a pearl necklace is choosing the right pearls. There are a variety of pearls to choose from, including freshwater, Akoya, Tahitian, and South Sea pearls. Each type of pearl has its unique characteristics, so it is important to choose the pearls that are right for you.
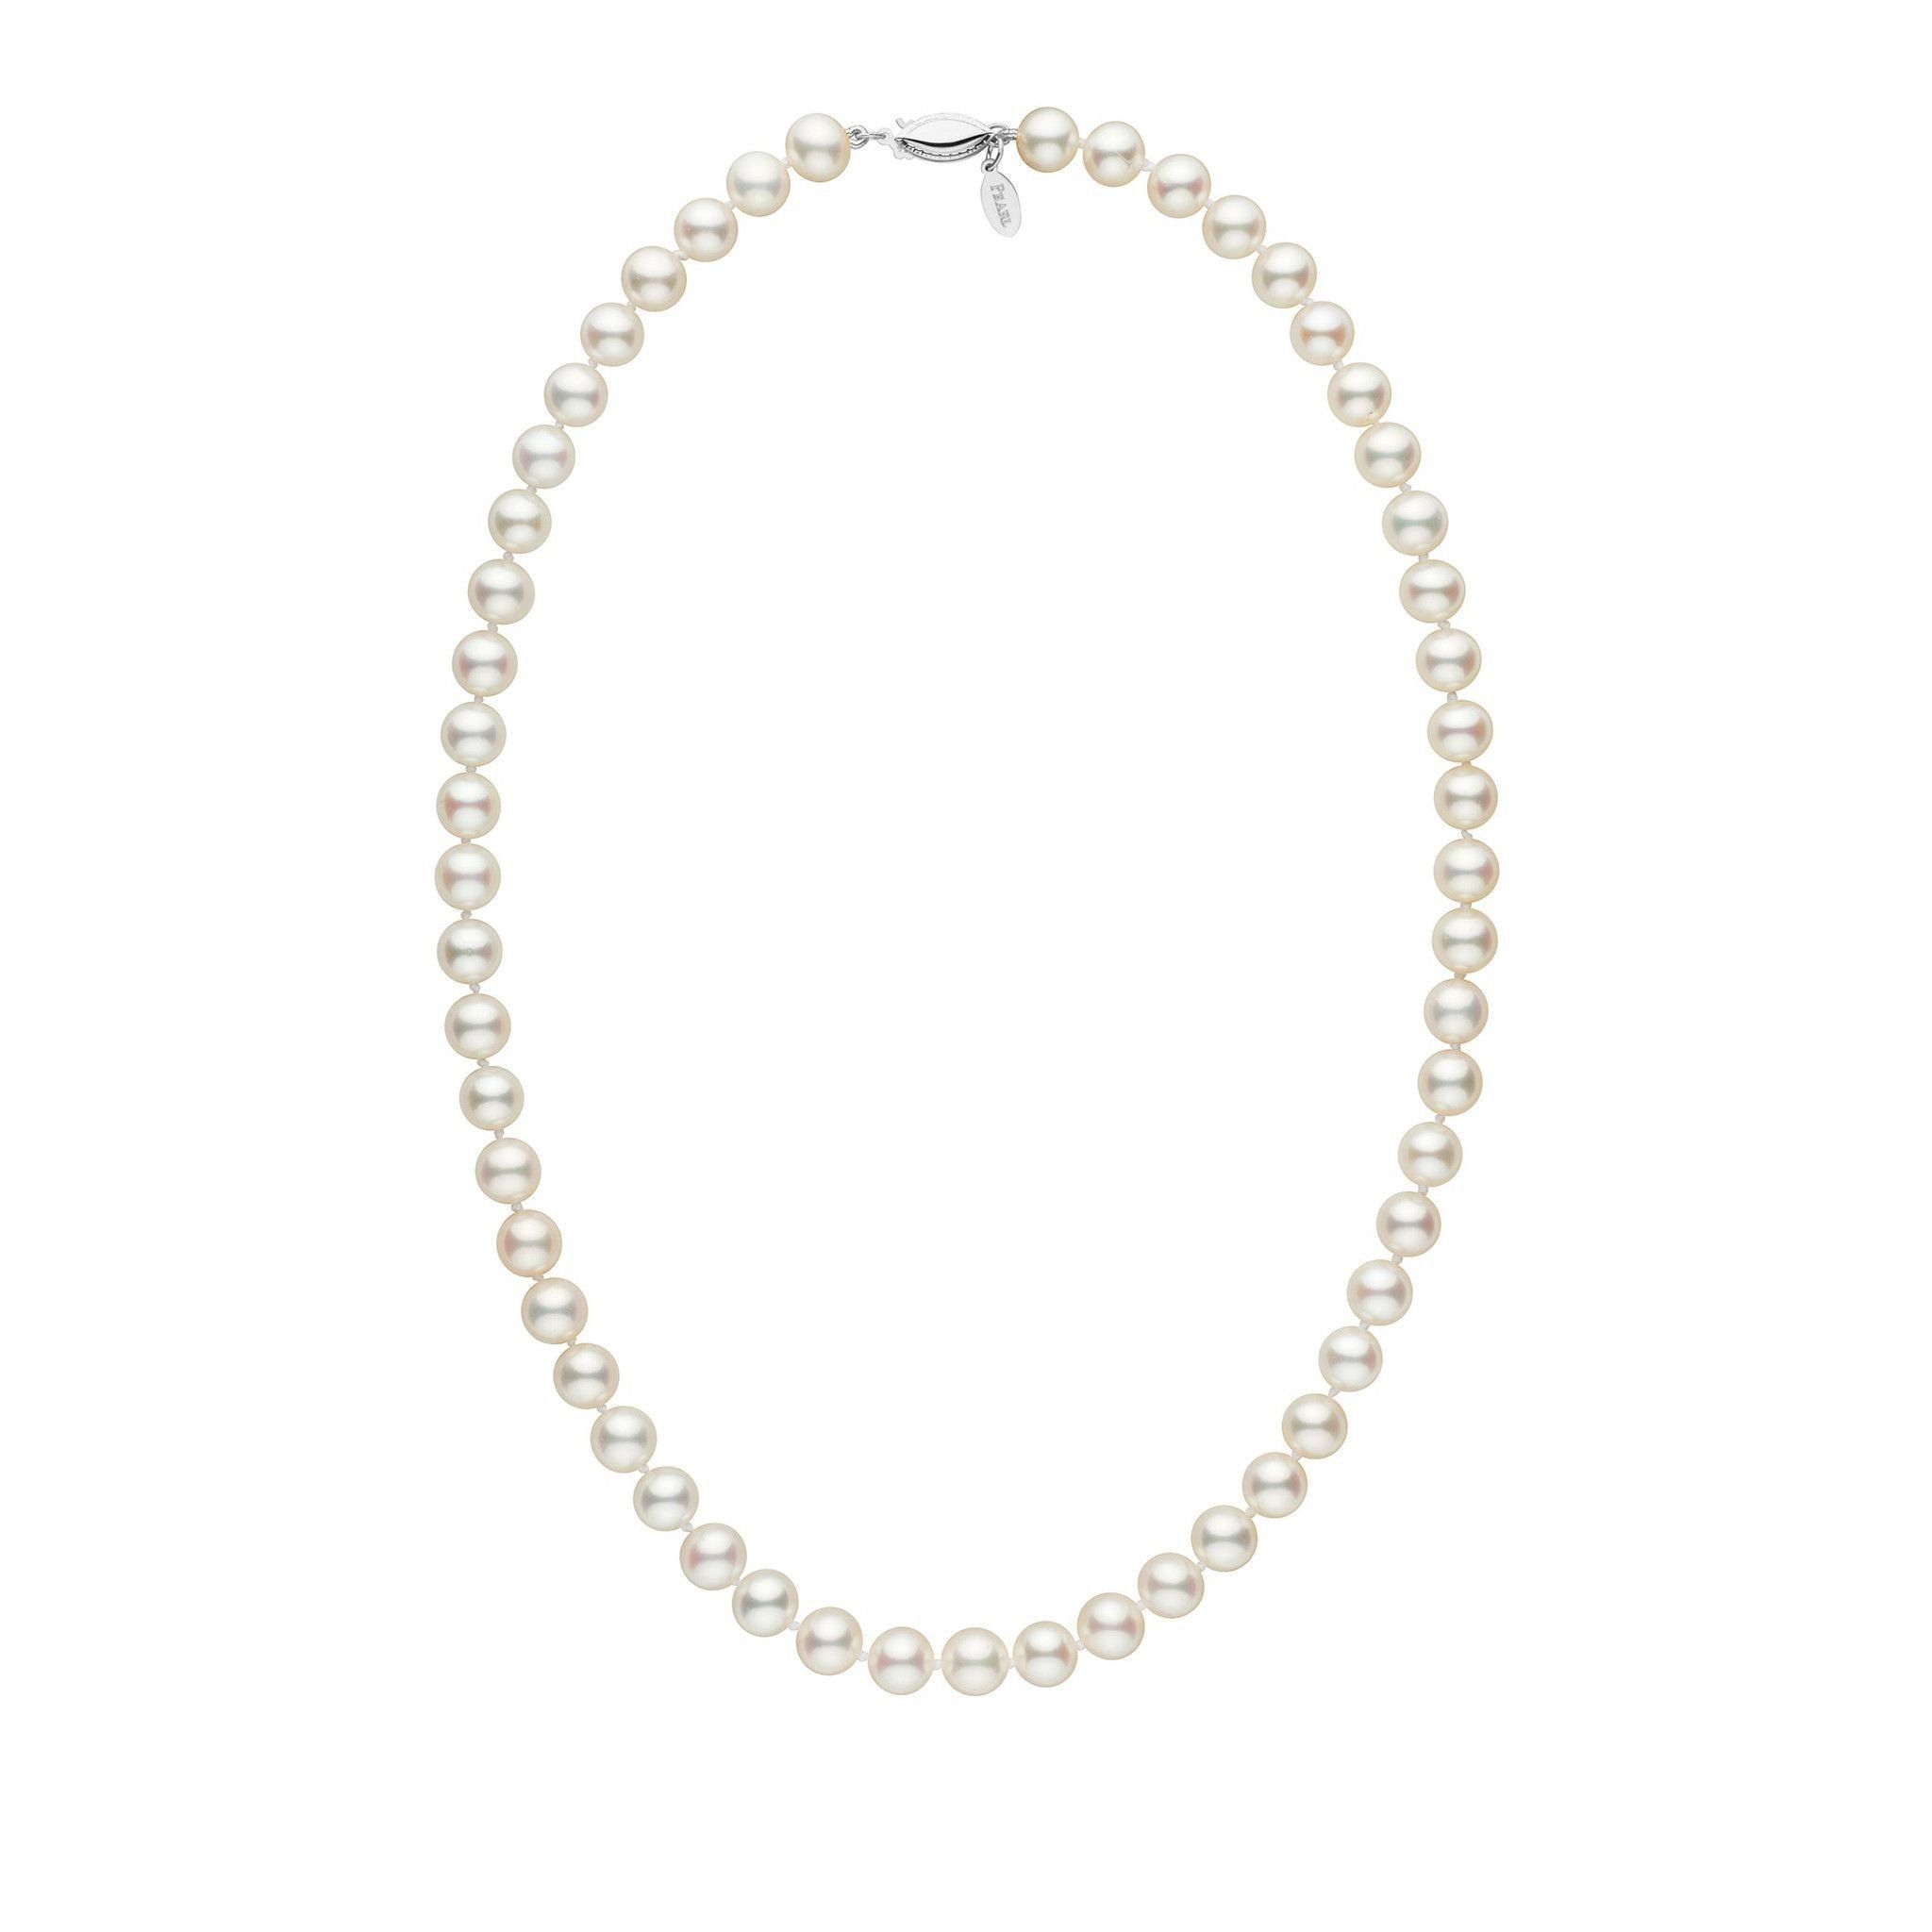
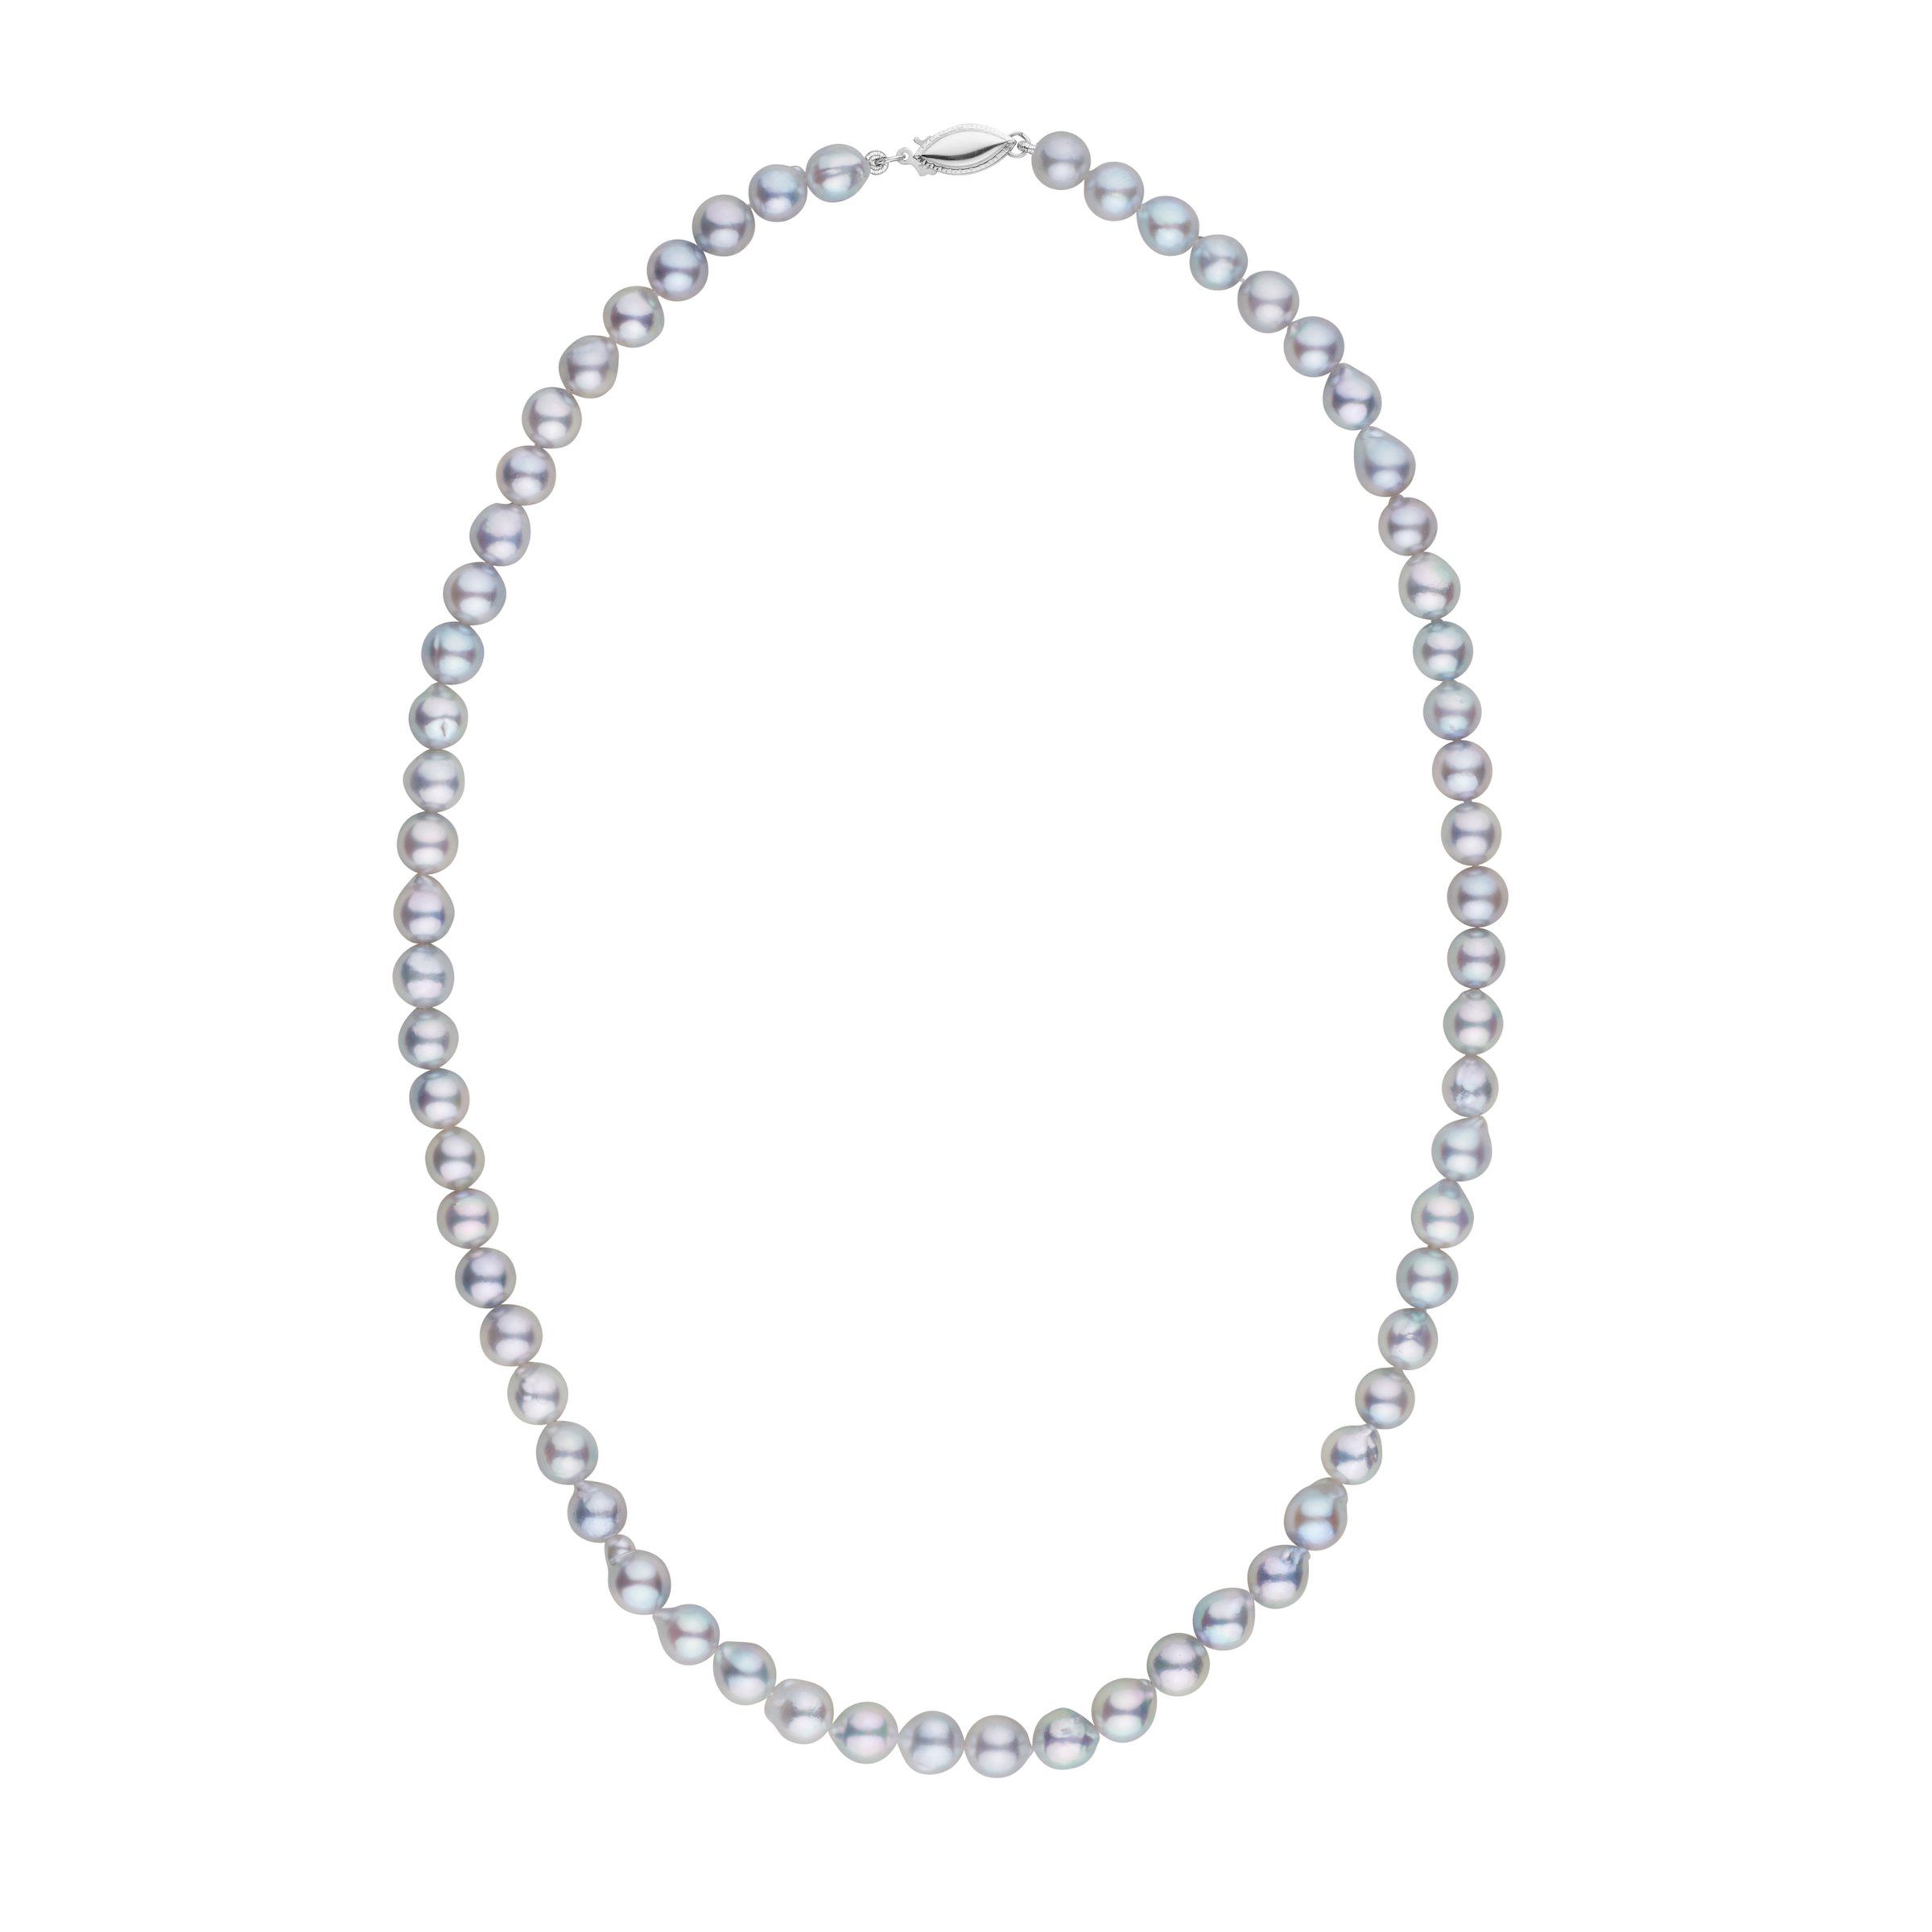
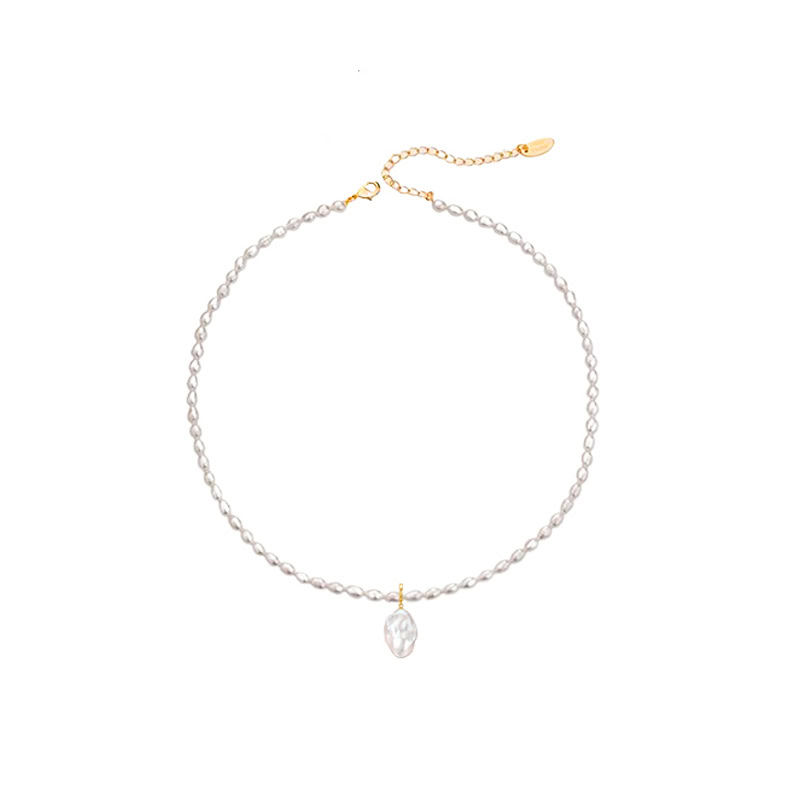
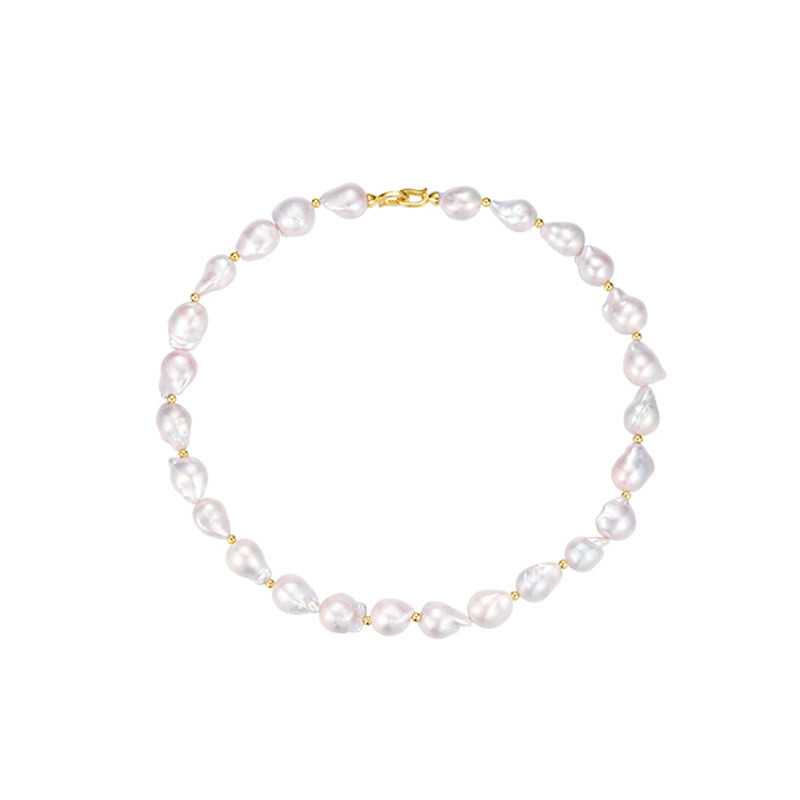
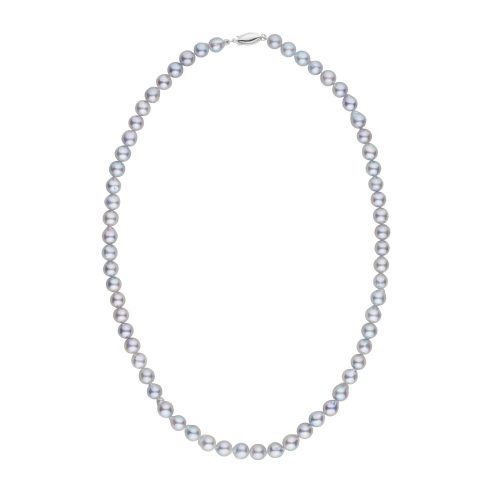
Freshwater pearls are the most affordable type of pearl and are available in a variety of colors and shapes. Akoya pearls are known for their high luster and are usually white or cream-colored. Tahitian pearls are larger and come in a variety of colors, including black, gray, and green. South Sea pearls are the largest and most valuable of all pearls and are usually white or golden.
When choosing pearls, consider their size, shape, color, luster, and surface quality. Look for pearls that are round, smooth, and have a high luster. The color of the pearls should complement your skin tone and the outfit you plan to wear them with.
Selecting the right stringing material
The next step in creating a pearl necklace is selecting the right stringing material. There are a variety of materials to choose from, including silk, nylon, and wire. Silk is the traditional material used for stringing pearls and is known for its strength and flexibility. Nylon is a more modern option that is also strong and flexible. The wire is the most durable option and is often used for heavier pearls.
When selecting a stringing material, consider the size and weight of your pearls. For smaller and lighter pearls, silk or nylon is a good choice. For larger and heavier pearls, wire is a better option.
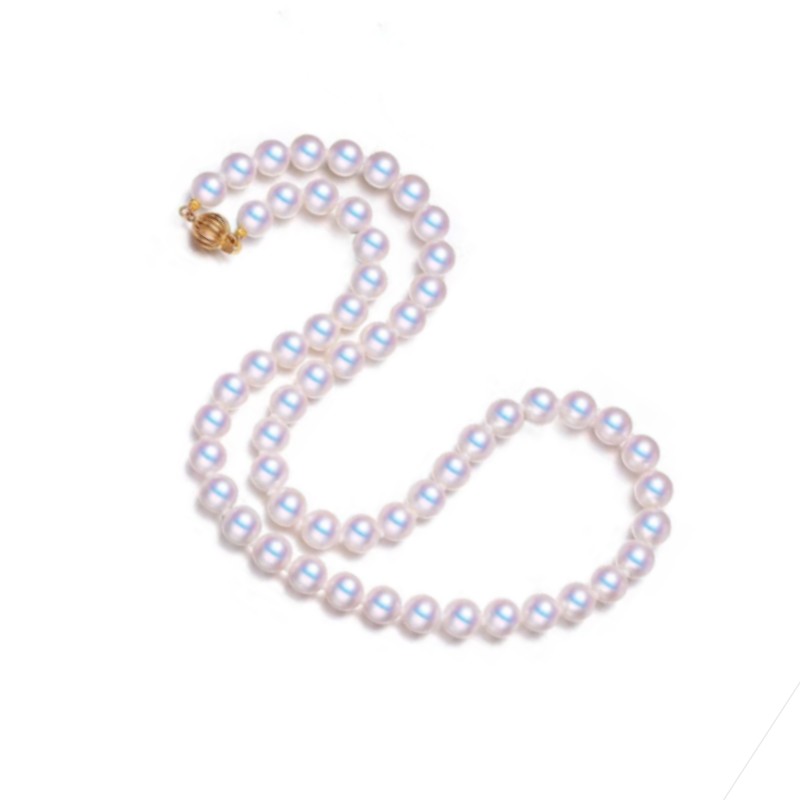
Choosing the clasp and findings
The clasp is an important part of a pearl necklace as it keeps the necklace secure and adds a decorative element. There are a variety of clasps to choose from, including lobster, spring ring, toggle, and magnetic clasps. Each type of clasp has its benefits and drawbacks, so it is important to choose the clasp that is right for you.
When choosing a clasp, consider the size and weight of your pearls. A larger and heavier pearl necklace will require a stronger clasp, such as a toggle or magnetic clasp. A smaller and lighter pearl necklace can be secured with a lobster or spring ring clasp.
In addition to the clasp, you will also need findings, such as crimp beads and bead tips, to attach the clasp to the stringing material.
Measuring the length of the necklace
The next step in creating a pearl necklace is measuring the length of the necklace. The length of the necklace will depend on personal preference and the outfit it will be worn with. A choker necklace is usually between 14 and 16 inches, a princess necklace is between 17 and 19 inches, a matinee necklace is between 20 and 24 inches, and an opera necklace is between 28 and 34 inches.
To measure the length of the necklace, use a measuring tape and wrap it around your neck at the desired length. Add an extra inch or two to allow for the clasp and findings.
Stringing the pearls
Once you have chosen your pearls, stringing material, clasp, and findings, it is time to string the pearls. To do this, cut the stringing material to the desired length and tie a knot at one end. String the pearls onto the stringing material in the desired pattern, adding crimp beads and bead tips as needed. Once all the pearls are strung, tie a knot at the other end and attach the clasp and findings.
Adding the clasp and finishing touches
The final step in creating a pearl necklace is adding the clasp and finishing touches. To do this, attach the clasp to the stringing material using crimp beads and bead tips. Once the clasp is securely attached, trim any excess stringing material and add a drop of glue to secure the knot.
To give your pearl necklace a professional finish, consider adding a knot between each pearl. This will prevent the pearls from rubbing against each other and will give the necklace a more elegant look.
Care and maintenance of your pearl necklace
To keep your pearl necklace looking its best, it is important to care for it properly. Pearls are delicate and can be damaged by chemicals, heat, and sunlight. To clean your pearl necklace, use a soft cloth and mild soap and water. Avoid using harsh chemicals or abrasive materials.
When not wearing your pearl necklace, store it in a soft pouch or box to prevent it from getting scratched or damaged. Do not store it with other jewelry as the pearls can scratch other metals and gemstones.
Conclusion
Creating your pearl necklace is a fun and rewarding project that allows you to customize your jewelry collection. By following these step-by-step instructions, you can create a stunning pearl necklace that will become a timeless piece in your collection.
Remember to choose the right pearls, stringing material, clasp, and findings, measure the length of the necklace, string the pearls, add the clasp and finishing touches, and care for your pearl necklace properly. With these tips, you can create a beautiful pearl necklace that you will cherish for years to come.
Call to Action
Visit our website to see our collection of high-quality pearls and jewelry-making supplies. With our wide selection and affordable prices, you can create your stunning pearl necklace today.


Price range: $759.00 through $2,419.00
21% Off